In 2026, LED lighting is no longer limited to simple on-and-off control. Connected bulbs, smart switches, occupancy sensors, and adaptive scenes can make a home feel more comfortable and efficient. Yet successful automation depends on more than buying the newest device. Homeowners must consider wiring, wireless protocols, dimmer compatibility, privacy, and long-term support before installation.
This guide explains how to integrate LED lights with home automation in practical, manageable steps. It examines popular platforms, including Matter, Thread, Zigbee, and Wi-Fi, while showing how each option performs in real rooms. A hallway sensor might activate soft lighting at midnight, while daylight sensors can reduce brightness near a sunny window. These small details matter.
Compatibility remains the difficult part.
A smart bulb may work perfectly in a table lamp but fail with an incompatible wall dimmer. Older wiring can create flickering, buzzing, or unreliable control. Professional electrical advice is valuable, especially when replacing switches or modifying circuits. Manufacturer instructions and certified products should guide every decision.
The best systems also remain usable without a phone. Physical switches, local control, and manual overrides provide reliability when networks fail. This is often overlooked. Energy savings should be measured honestly, because automation does not guarantee lower consumption if brightness levels remain unnecessarily high. Security settings, firmware updates, and carefully chosen permissions also protect connected homes.
The following discussion focuses on dependable design rather than flashy demonstrations. It recognizes that every property has different wiring, room layouts, budgets, and user habits. Some recommendations may need refinement as standards and products change, but thoughtful planning can produce lighting that feels natural, responsive, and easier to manage.
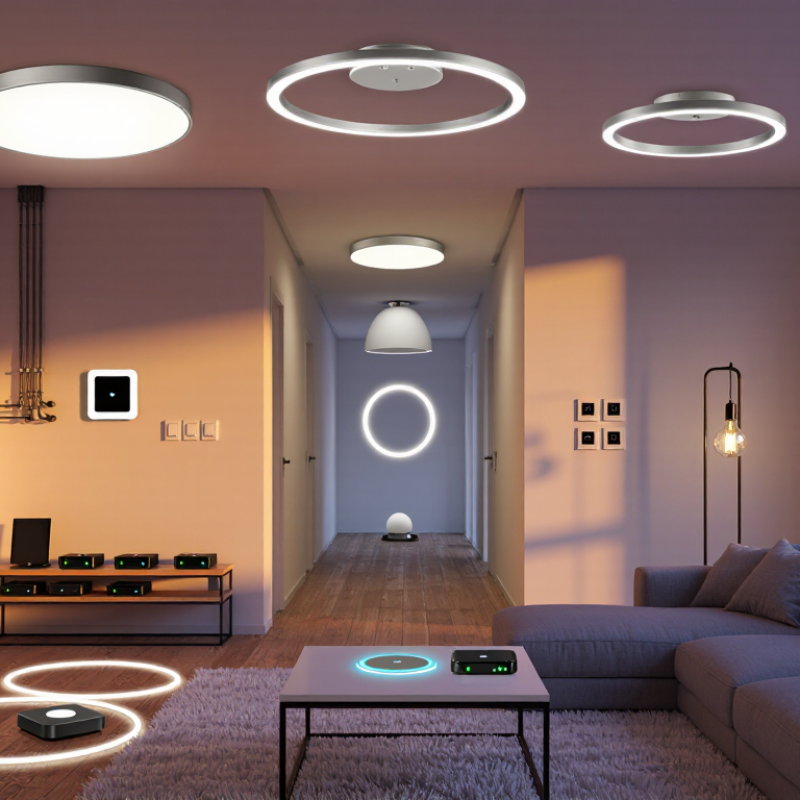
Before buying LED fixtures, define what each room should help you do. A kitchen may need bright, shadow-free task lighting. A bedroom may need warm, low-level light after sunset. A hallway often needs gentle motion-based guidance, not maximum brightness. Write these goals down. Vague goals create expensive adjustments later.
Divide the home into practical lighting zones. Keep the kitchen worktop, dining table, stairs, and outdoor entrance on separate controls. Each zone should have a clear trigger, schedule, and manual override. For example, stair lights can dim to 20 percent overnight. A physical switch should still work when the network fails. That small detail improves reliability.
Check compatibility before installation. Confirm voltage, dimming method, color-temperature range, wireless protocol, hub requirements, and voice-control support. Some LED drivers need specific dimmers, while others cannot be dimmed safely. Check local electrical requirements, and use a qualified electrician for fixed wiring. I once planned a single control group for an open living area. It seemed efficient, but reading, dining, and relaxing needed different light levels. The plan had to change. Leave space for future devices, but avoid adding automation without a real purpose.
2026 Best Ways to Integrate LED Lights With Home Automation
A reliable LED system begins with the home automation hub. Choose a hub that supports local control, regular security updates, and several communication standards. Local processing keeps lights responsive when the internet fails. That detail matters during evening routines. A hub should also handle scenes, schedules, voice commands, and manual switches without confusing delays. Compatibility lists can change, so check current firmware requirements before buying equipment.
The protocol affects range, speed, and power use. Thread and Zigbee suit many low-power lighting devices, while Wi-Fi works well for fixtures with stronger network access. Bluetooth can help with nearby setup, but whole-home control may become uneven. I prefer one main protocol where possible. Mixed systems are flexible, yet they create more troubleshooting points. Test signal strength behind walls, not only beside the router.
LED control hardware must match the light type. Use a properly rated dimmer for mains-powered bulbs, or an LED controller with PWM output for low-voltage strips. RGBW strips need separate color and white channels. Addressable strips require compatible data timing and a stable power supply. Add fuses, ventilation, and connectors rated for the expected current. Leave a physical switch available. Automation is useful, but a failed hub should not leave a room dark. I once underestimated voltage drop on a long strip; the far end looked noticeably dull. A larger cable or an additional power feed would have prevented it.
Compare common protocols when choosing a hub, protocol, and LED control hardware.
The chart shows protocol-level capabilities: 1 means supported and 0 means not native to the protocol. Thread and Wi-Fi use IP networking; Zigbee and Bluetooth Mesh provide native mesh networking. Wi-Fi mesh extensions are excluded. Actual hub requirements and local-control features depend on the specific controller, bridge, and LED hardware.
Plan the circuit before mounting anything. Check each LED fixture’s voltage, wattage, and dimming method, then select a compatible driver with suitable capacity. A driver that is undersized may flicker or overheat; excessive capacity does not automatically improve performance. Keep low-voltage connections secure and follow the fixture maker’s wiring diagram. Turn off power at the breaker before wiring, and ask a qualified electrician to handle mains-voltage work. Small details matter.
Connect the lights to the automation system through a compatible dimmer or smart switch. Some switches require a neutral wire, while others may not work well with certain LED drivers. Confirm compatibility before buying; this step is easy to overlook. Place motion or daylight sensors where they can detect activity without pointing at windows, vents, or moving shadows. Test them at night and during daylight, then adjust sensitivity and timing. A hallway sensor that switches off too quickly can be annoying. So can one that triggers every time sunlight shifts. Labeling driver locations and recording settings also makes later troubleshooting less of a guessing game.
| Integration Method | What You Need | How It Connects | Best Use | Example Automation | Key Installation Checks |
|---|---|---|---|---|---|
| Smart LED bulbs | Dimmable smart bulbs and a compatible home automation hub or wireless controller, depending on the bulb’s protocol. | Each bulb connects directly to a wireless network or through a compatible hub. | Table lamps, retrofit fittings, and rooms where individual bulb control or color adjustment is useful. | Set a warm color temperature in the evening and lower brightness at bedtime. | Keep the wall switch on so the bulbs remain powered and reachable. Confirm the bulb fits the fixture and is suitable for enclosed fittings if applicable. |
| Smart switch controlling standard LED fixtures | A compatible smart wall switch and LED fixtures or lamps approved for that switching method. | The switch controls power to the lighting circuit and communicates with the automation system by its supported connection method. | Ceiling lights and other fixtures that should continue to work from a wall control. | Turn lights off automatically when everyone leaves, while retaining manual wall control. | Check whether a neutral wire is required, confirm the switch is rated for the connected load, and use a dimmer only with dimmable LEDs and a compatible dimmer. |
| LED driver with wireless dimming | An LED driver that supports a specified wireless control protocol, compatible LED modules, and the required controller or hub. | The controller sends dimming or switching commands to the driver; the driver supplies regulated power to the LEDs. | LED strips, low-voltage lighting, and fixtures where the driver can be selected or replaced. | Dim under-cabinet lighting when a room becomes bright from daylight. | Match the driver’s output voltage and current to the LED load. Check minimum and maximum load limits, enclosure requirements, and whether the driver is rated for the installation location. |
| 0–10 V dimming | A 0–10 V-compatible LED driver, a matching control device, and separate control wiring as specified by the equipment. | A low-voltage control signal sets the driver’s dimming level; the lighting circuit supplies the driver’s power. | Multi-fixture zones, larger rooms, and projects where control wiring is practical. | Set a lower light level for a movie scene and restore a brighter level for cleaning. | Verify that the controller and driver use compatible 0–10 V behavior and wiring. Dimming may not switch the light fully off, so a separate switching method may be needed. |
| DALI lighting control | DALI-compatible drivers, a DALI bus, a controller or gateway, and commissioning of the lighting group or addresses. | Control messages travel on the DALI bus to compatible drivers, while mains power is supplied separately. | New builds, substantial renovations, or installations with multiple lighting groups and centralized control. | Create separate scenes for general lighting, task lighting, and presentation lighting. | Plan the bus wiring and device count according to the applicable DALI specification and equipment documentation. Use a qualified installer for mains wiring and commissioning. |
| Motion or occupancy sensor | A compatible motion or presence sensor, a controllable light or driver, and an automation controller if required. | The sensor reports activity; the controller or sensor output triggers the lighting circuit or lighting device. | Hallways, utility rooms, bathrooms, closets, and other spaces where hands-free control is helpful. | Switch on a hallway light when movement is detected after dark, then switch it off after a set period without activity. | Position the sensor for the intended coverage area. Set timeout and sensitivity appropriately, and use a daylight threshold where the system supports it. |
| Daylight or illuminance sensor | An illuminance sensor, a controllable dimmable driver or light, and a controller that supports brightness-based rules. | The sensor measures ambient light and provides readings for a control rule or closed-loop dimming system. | Rooms with windows, work areas, and spaces where maintaining a more consistent light level is useful. | Reduce electric lighting as daylight increases, then raise it when daylight falls below a chosen level. | Place the sensor where it represents the room’s ambient light rather than direct sunlight or the controlled light itself. Allow for gradual adjustments to avoid frequent brightness changes. |
| Thread or Matter-compatible lighting | Compatible lights or controllers and the network components required by their connection method; Thread devices may require a Thread border router. | Devices communicate through a supported local network, and a compatible controller provides setup and automation functions. | New installations where local control and interoperability across compatible systems are priorities. | Use a single scene to adjust several compatible lights when arriving home. | Check the exact device capabilities and supported features before purchase. Compatibility can vary by product, controller, and software version; confirm network coverage at each device location. |
Smart LED lighting feels useful when scenes match real routines, not showroom displays. A reading scene might set the desk lamp to warm white while leaving the ceiling light dim. A cooking scene can brighten counters without lighting the whole kitchen. Keep it simple. Name scenes by room or activity, so they are easy to find in an app or voice menu. Check that each bulb supports the dimming and color settings you plan to use; some lights behave differently at very low brightness.
Schedules can switch porch lights on near sunset and soften bedroom lighting before bedtime. Automations add context: a motion sensor can illuminate a hallway at night, while a door sensor may trigger an entry scene. Set sensible limits, such as a short timeout, to avoid lights staying on all night. Voice controls are convenient for hands-full moments, but keep a physical switch available for guests and network outages. That detail is easy to overlook.
Build one room at a time, then test scenes at different hours. A bright setting that looks pleasant at noon may feel harsh after dark. Review schedules when routines change, and avoid linking every device to every trigger. More automation is not always better. A little adjustment is normal.
Integrating LED lighting with home automation in 2026 requires more than connecting bulbs to an app. Test each circuit under normal and failure conditions. Check dimming at ten, fifty, and one hundred percent output. Watch for flicker, delayed responses, and unwanted activation after a power cut. My first test plan missed manual control, which made the system frustrating during network outages. A physical switch still matters.
Security should begin at the controller and continue through every connected device. Use unique passwords, encrypted connections, automatic updates, and a separate network for smart equipment. Disable unused remote access features. Keep a written device list with installation dates and software versions. A qualified electrician should verify wiring, load limits, heat clearance, and compliance with local electrical rules. Never assume a low-voltage fixture is risk-free.
Maintenance protects performance over time. Clean dust from vents and fixtures, inspect loose connections, and review event logs monthly. Replace damaged cables immediately. Test emergency lighting behavior twice a year. Expansion needs discipline. Reserve electrical capacity, label every cable, and document scenes before adding more zones. New fixtures should support the same control standards and safe fallback settings. Brightness is not the only measure; comfort, reliability, and repair access deserve equal attention. Some automation scenes may still need adjustment after real household use.
Check each fixture’s voltage, wattage, and dimming method. Choose a compatible driver with suitable capacity. Small details matter.
An undersized driver may flicker or overheat. More capacity does not automatically improve performance. Check the fixture’s wiring diagram.
Use a compatible dimmer or smart switch. Check whether the switch needs a neutral wire. Compatibility is easy to overlook.
Place sensors where they can detect activity, away from windows, vents, and moving shadows. Test them in daylight and at night.
Adjust sensitivity and timing. A hallway light that turns off too quickly can frustrate people. So can repeated triggers from shifting sunlight.
Test dimming at ten, fifty, and one hundred percent. Watch for flicker, delays, and unwanted activation after a power cut. Test manual control, too.
Use unique passwords, encrypted connections, and automatic updates. Consider a separate network for smart equipment. Disable remote access features you do not use.
Clean dust from vents and fixtures. Inspect connections, review event logs monthly, and replace damaged cables. Test emergency lighting twice a year.
Reserve electrical capacity, label cables, and document scenes. Confirm new fixtures support the same control standards and safe fallback settings. I once overlooked manual control; that was frustrating.
A successful smart lighting project begins with clear goals: decide which rooms need convenient control, what moods or activities each area should support, and whether the existing lights, wiring, and controls are compatible with the planned system. To understand how to integrate LED lights with home automation, choose a suitable hub and communication method, then match them with compatible LED bulbs or fixtures, drivers, sensors, and smart switches. Plan zones carefully so lights can be controlled individually or together without creating unnecessary complexity.
After installation, connect each device and confirm that it responds reliably. Create practical scenes for everyday activities, schedules that fit household routines, and automations triggered by sensors or other connected controls. Add voice commands only where they make operation easier. Test the system across different rooms and operating conditions, protect access with secure settings, and keep device software current. As needs change, expand gradually, checking compatibility and system performance with each addition.

Tverse LED light